Manage Sites
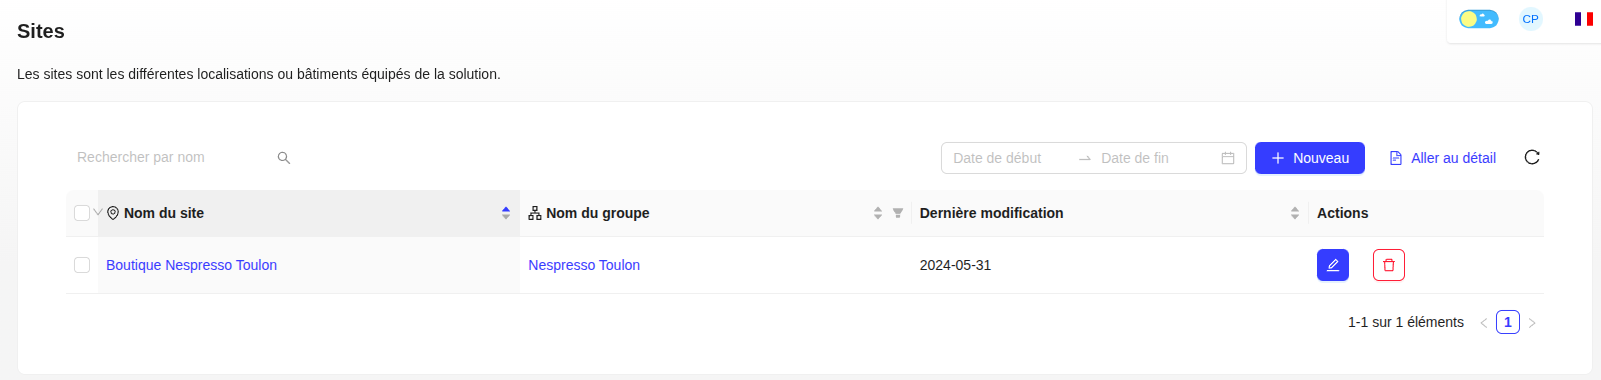
Sites represent the different buildings or infrastructures equipped with the Robeau solution.
Create and Manage a Site
Creation, modification, and deletion work the same way as for administrators and groups.
To create a site, you must provide the name of the parent group, the site name, its type, and its address.
Follow a Site's Alerts
As with an administrator, you can click on "Follow alerts" on a site's page to set the alert priorities you want to follow for that specific site.
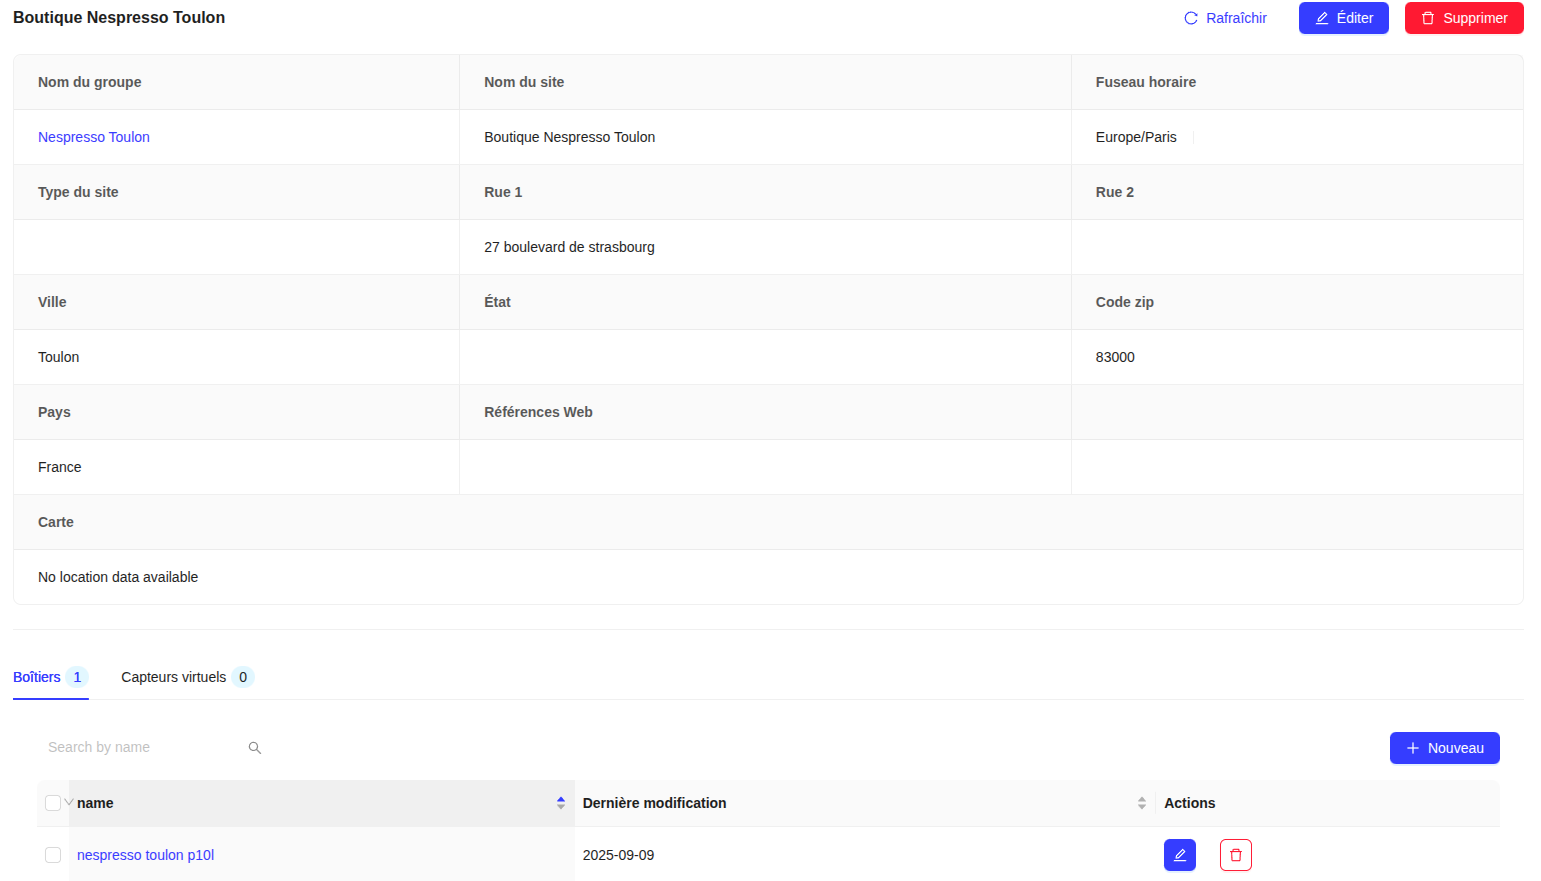
Site's Devices
From a site's page, you can view the list of devices/transmitters installed there.
Site's Invoices
The Invoices tab gathers the site's invoices.
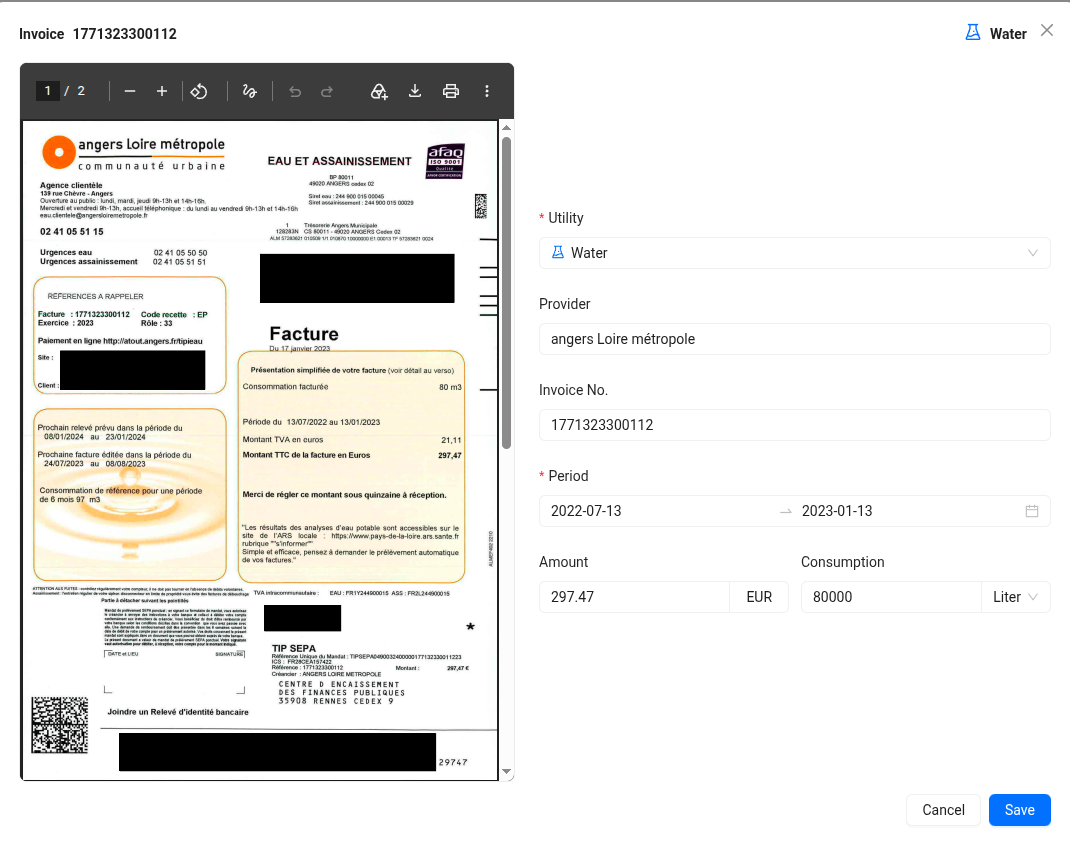
The register lets you view and manage invoices, with their supplier, period, amount and consumption, along with search and filtering features.

Click an invoice to view it directly in the interface, along with its main information.
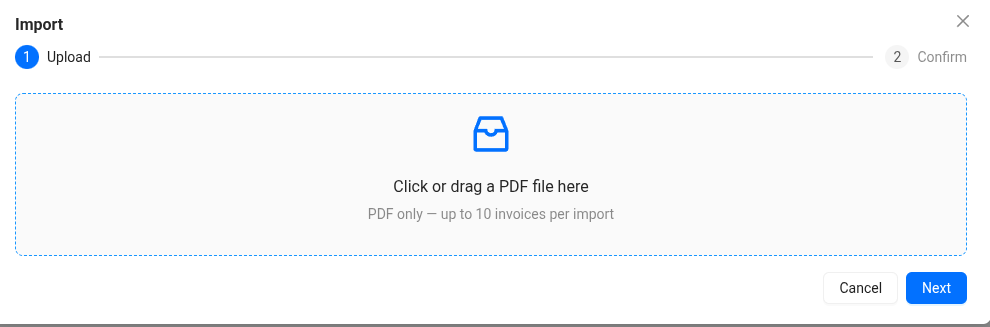
To add an invoice, click Import, drop the PDF, check the suggested information and confirm.
Site's Rates
The Rates tab lets you define the price of the water consumed on the site and track how it changes over time.
The register shows the water rates with their validity period, price, currency and unit. A curve also lets you visualise how the price evolves over time.
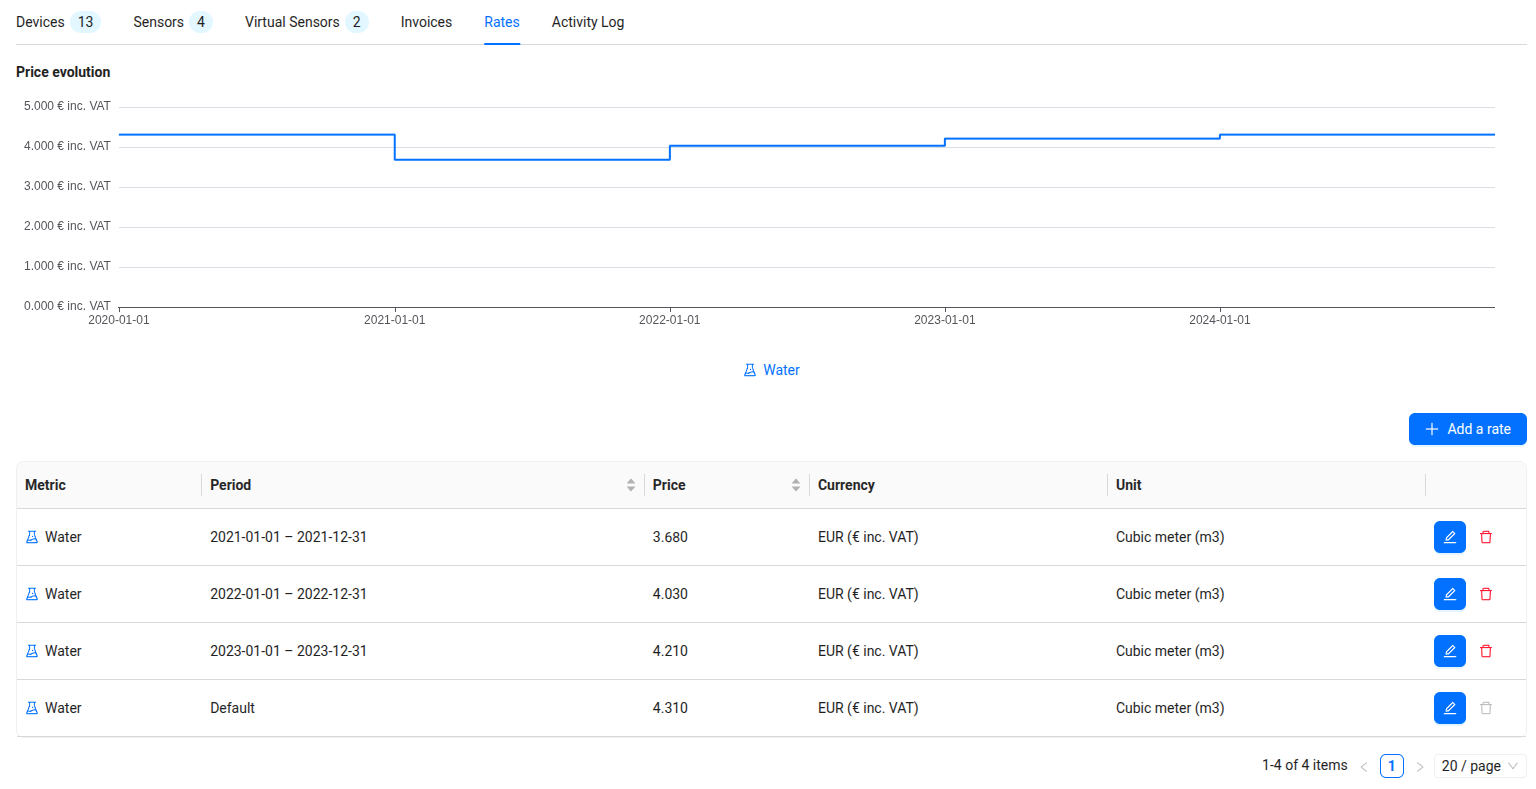
To add a rate, click Add a rate. Enter the water price, select the currency and the unit (here, the cubic metre), then indicate the date the rate starts to apply and, if needed, an end date.
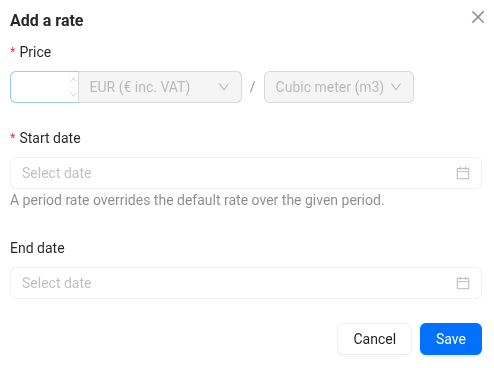
A rate defined over a given period replaces the default rate during that period. This makes it possible to account for the evolution of the water price over time.
Equipment Mapping
The mapping interface allows you to position your sensors on Google Maps or on an imported plan (Image Map). In edit mode, you place your measurement points (Gas, Sanitaires, Chaufferie) at their real locations to visualize your data directly in their spatial context.
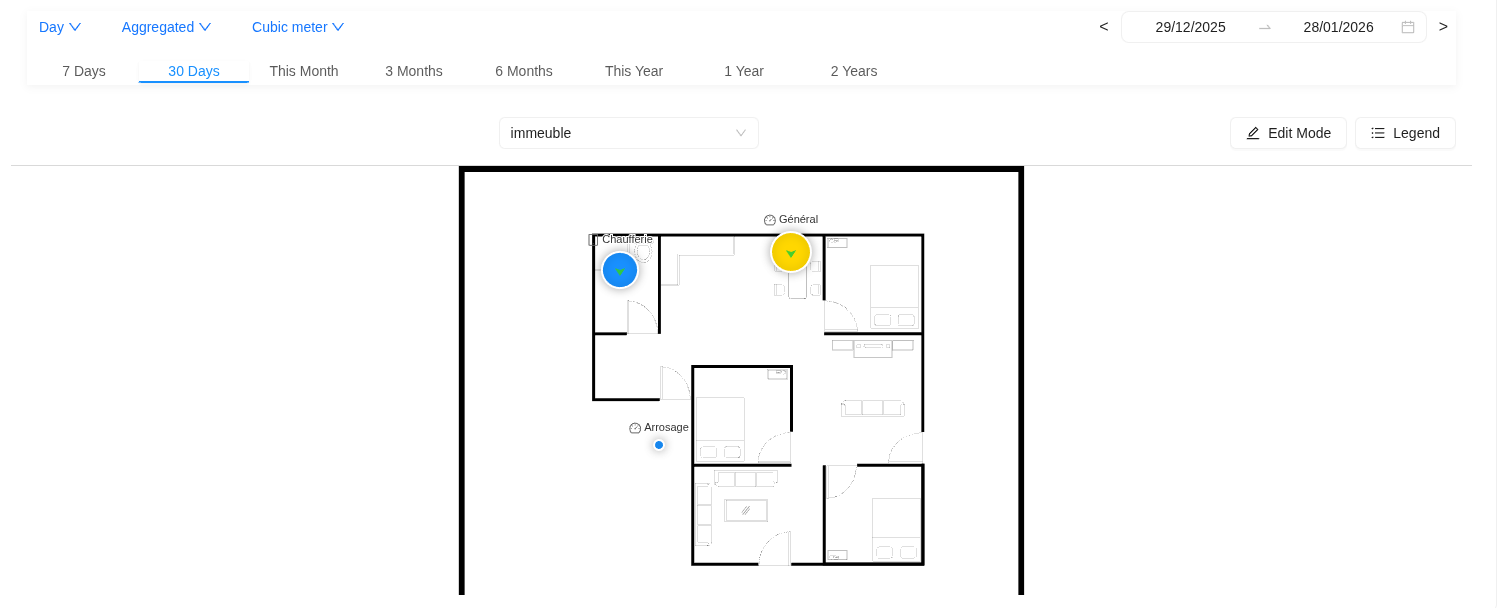
Here is a clear and structured step-by-step guide to accompany your screenshots:
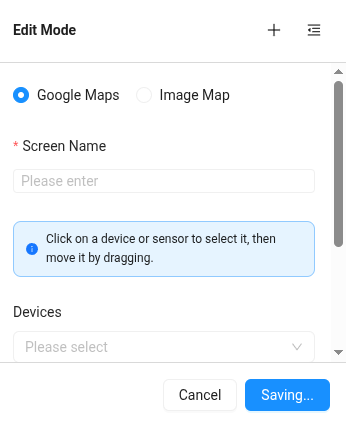
🟢 Configuration Guide: Sensor Mapping Follow these steps to spatialize your equipment in just a few clicks:
Activate edit mode: Click on the Edit mode button (pencil icon) at the top right of the main interface.
Choose the support type: In the side panel, select Google Maps for a geographic view or Image Map to use an architectural plan (format .png, .jpg or .svg).
Configure the plan: * Give a Screen name (e.g., "Building" or "Floor 1"). * If you have chosen "Image Map", click on Upload image to import your file.
Position the sensors: Click on the list item and drag the icons of your boxes to position them (Gas, Sanitaires, Chaufferie, etc.)
Save: Click on the blue Save button at the bottom of the form to validate the configuration.
Tip: You can change plans at any time by using the central dropdown menu to navigate between the different floors or buildings configured.